Friday, March 23, 2012

Finaly, posting again

Hi everybody,

Sorry I have been mia for so long.  Life happens.  I spent time preparing for a card workshop I presented at our Seniors' Center and then had a Birthday bash for 2 of my children.  I have also decided to sell my house so am in the midst of cleaning and decluttering for the appraiser who is coming next week.

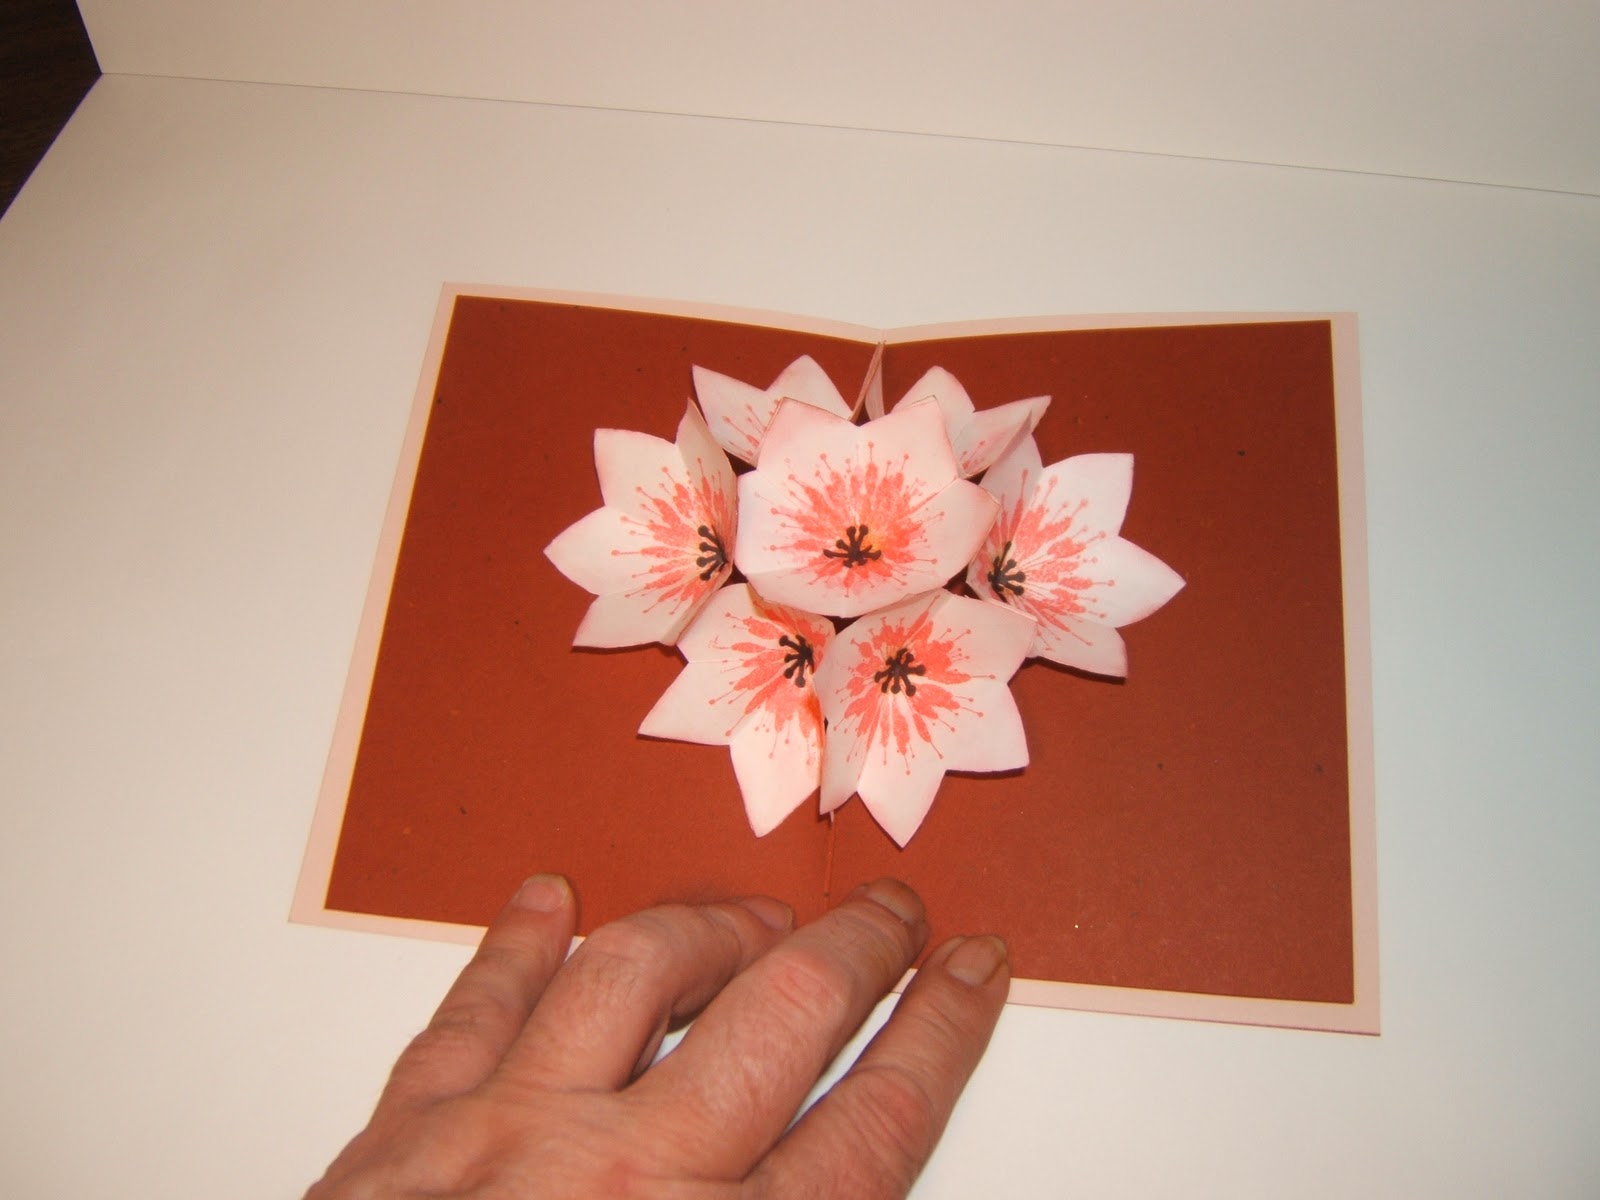
Anyway, I have been creating during this time and want to share some of the cards I have made. 
I have been bit by the "challenge" bug and the card I have today is for a challenge.

I am submitting this card to the Do You Stack Up challenge blog (use plaid).
I have made a masculin card, which is hard for me.  The card is pretty straight forward.  Navy cs base card, layer of grey plaid background paper printed from the computer, layer of red cuttlebugged paper which was cut with nestabitities.  Cut the white paper with nestabilities and left the metal die on to sponge the blue color.  The image is a retired Stampin Up image.  I used a piece of plaid ribbon over this.  I used my cuttlebug to cut the letters, glued them on the white piece, sponged the edges, added some bling, glued over the ribbon, and I was done.

I have nearly a dozen cards that I have created over the last little while, so hopefully I will be posting them over the next few days.

Happy day to you all.

Theresa in Kitimat

Wednesday, February 22, 2012

SAS4K challenge

Hi Everybody,

Today I have a card that I made to enter into the SAS4K challenge.  This challenge is to make a Spring or Easter card suitable for a child (as always).  I made several of these and they will be added to the cards I will be sending to Lynnette to take to Stollery Childrens' Hospital in Edmonton.


I love the way these cards turned out and they are easy peasy to make.  I used a center step tutorial on Split Coast Stampers for the base.  Beacause i wanted the center panel to be a little wider, I changed up the measurements a little and made the side panels 3/4" instead of 1".
I used an oval nestability to make the mask and sponged around it to highlight the area where the little chickie goes.  Also used nestabiltiies for the sentiment label. 

I have seen many variations of the chick and so not sure who to give credit for that.  I used Stampin Up punches- large oval and scallop circle and sponged the edges.  And of course, googlie eyes and a tuft of feather.  The eggshell is a Hot Off the Press clear stamp called Small Easter Chick.  I used markers to color the stamp, stamped it, used the same oval punch and then trimmed off the top chick part.  Put everything together, and I was done.

Hope you liked my card today.

Now I am off to get the SAS4K package ready to mail.

Wishing a Happy Day to you.

Theresa in Kitimat


Sunday, February 19, 2012

Finally, CCAYR challenge cards

Hi Everybody,

Well, I have finally finished my cards for the CCAYR challenge.  Since it is Valentines month, the challenge was to use a heart somewhere on the card. 

I started these cards right after the challege was announced and just finished them today.  I used a free digi from Beyond the Fringe Crafts.  I am adding a link to the actual digi here.  If you use digi stamps, you really should check out this site.  Carmen is a Canadian gal and she has a lovely site and the most delightful digis.  Thank you Carmen for all the digis I have downloaded from your site.
The cards I made are really straight forward.  I printed the digis, colored them, cut them out and used a black paper for matting.  I then found matching papers for the base and more matting paper.  Added some bling and/or glitter and I was done.  Oh, and amazingly, I only used one little piece of ribbon.   I do love to use ribbon. 
Not sure why it took nearly three weeks to finish these cards :-).

So, that is my post for today.  I hope you are all having a super weekend.  Mine has been good so far, except it is snowing.   Please, please, no more snow.  I NEED sping to come soon.

Happy Day to you all.
Theresa in Kitimat

Sunday, February 12, 2012

What was working, is not working now.

Hi Everybody,

In regards to my last post, I checked out the links I gave for the Nickjr. spin art site before I posted and it was working well, to both print and email.  When I tried the site this morning, the image I created would neither print nor send.  I am so sorry if I sent you on a wild goose chase.

I will email them and see what is up.

I do hope your weekend is going well.  Mine is (other than the Nickjr. site not working).
 
My son is coming over this morning for breakfast and we will skype with his family, who are living in Switzerland for a year.  What a great way to keep in touch with friends and family.

Happy day to you.

Theresa in Kitimat

Friday, February 10, 2012

I'm a kid, at heart.


Hi Everybody,
I am busy finishing off my card package to send to Lynnette for Stollery Hospital but I want to do a quick post to show you the card I am adding to the SAS4K challenge(anything goes).  You should check this out.  There are prizes to be won :-).


I always try to add masculine cards for the boys, even though they are somewhat hard for me to make.  These cards are a lot of fun, though.

The images are from Stampin Up.  The slider tag was cut with my CB and the ep is Black Opal from Judikins.

And now, the fun part.
 I remember the spin art kit my kids played with when they were young.  Well, when I was watching my granddaughter (before she started school), we would spend some time playing on the computer.  One of her favorite places was nickjr. and we found a spot where you could generate spin art.  We made sheets and sheets of spin art and printed a lot of them.  I have since made a few of these on my own and found that it is better to email them to myself and then print from the image I save from the email.  I can get two spin arts on a page and resize if I like.  If you check this site out, you have to move the bottle around quite a bit to get it to put down color.  It is a lot of fun, even if you are a tad older than a Nickjr.

Here is another site I found to generate spin art.  This one is cool too, but you are limited to the colors you can use.

So, that is it for today.  I hope you all have a great weekend.

Theresa in Kitimat

Thursday, February 2, 2012

Cst challenge

Hi Everybody,
Happy Thursday to you.
Here is a card I have submitted to our weekly CST challenge.  This week is winged things.

The focal image is a cut out design.  I saved this image ages ago and I am sorry, I have no idea where I got it from, but I do have the design saved.  I printed the dragonfly and then used the template to cut out the black silhouette, being careful to leave the outline in tact.  I used the outline to sponge the background color.  I sponged the brown and then the blue with pigment ink and then added sparklie ep to the wings.  Then I glued the cut out black design over the background, offsetting it just a little.  I added the sentiment (actually, I stamped the sentiment first) and then lined everything up.  I added a few layers of matting and I was done.

If you have any questions or would like the template, please email me.

Hope you are having a great day.

Theresa in Kitimat

Wednesday, January 25, 2012

CST challenge

Hi Everybody,
Well, I fianally got busy and did some crafting.  I needed a Birthday card this month for a good online friend so I decided to enter it into the CST challenge (make a birthday card).
This card is a little larger than the regular size, maybe about 5 X 6 1/2, not sure anymore.  I used a SU canvas backgound stamp and close to cocoa ink.  Sponged the edges.  I used a nestability for the scallop circle and my fiskars circle cutter for the inner circle and a nestabilities die for the leaves.
The sentiment is a Fiskars clear stamp set designed by Cloud 9.
I made the flower from pink paper and the how tos are from a video that is in the link further down the page.
I use a Fiskars clear stamp designed by Heidi Grace to stamp the flowers.
The little stamens are made with a Punch Bunch punch.


Here is the inside of the card.

This is a 7 flower pop up and here is the link on how to make it.  The video in the link shows how to fold the paper to make the flowers.
This card is a little time consuming, but the end results are really worth the effort.

I hope you liked my card today and try to make one yourself.  If you do, and have any questions, please email me and I will try to answer them.

Thanks for stopping by and I hope you are having a great week.

Theresa in Kitimat